ADDING A BRANCH / SHOP ON PORTAL
ZED allows merchants to create additional branches within their businesses on their ZED portal.
Portal
To add new branches to the ZED POS:
- Navigate to your browser and search for portal.zed.business to login in to your ZED account.
Step 1: Open Your ZED portal.
Step 2: Access Business Settings.
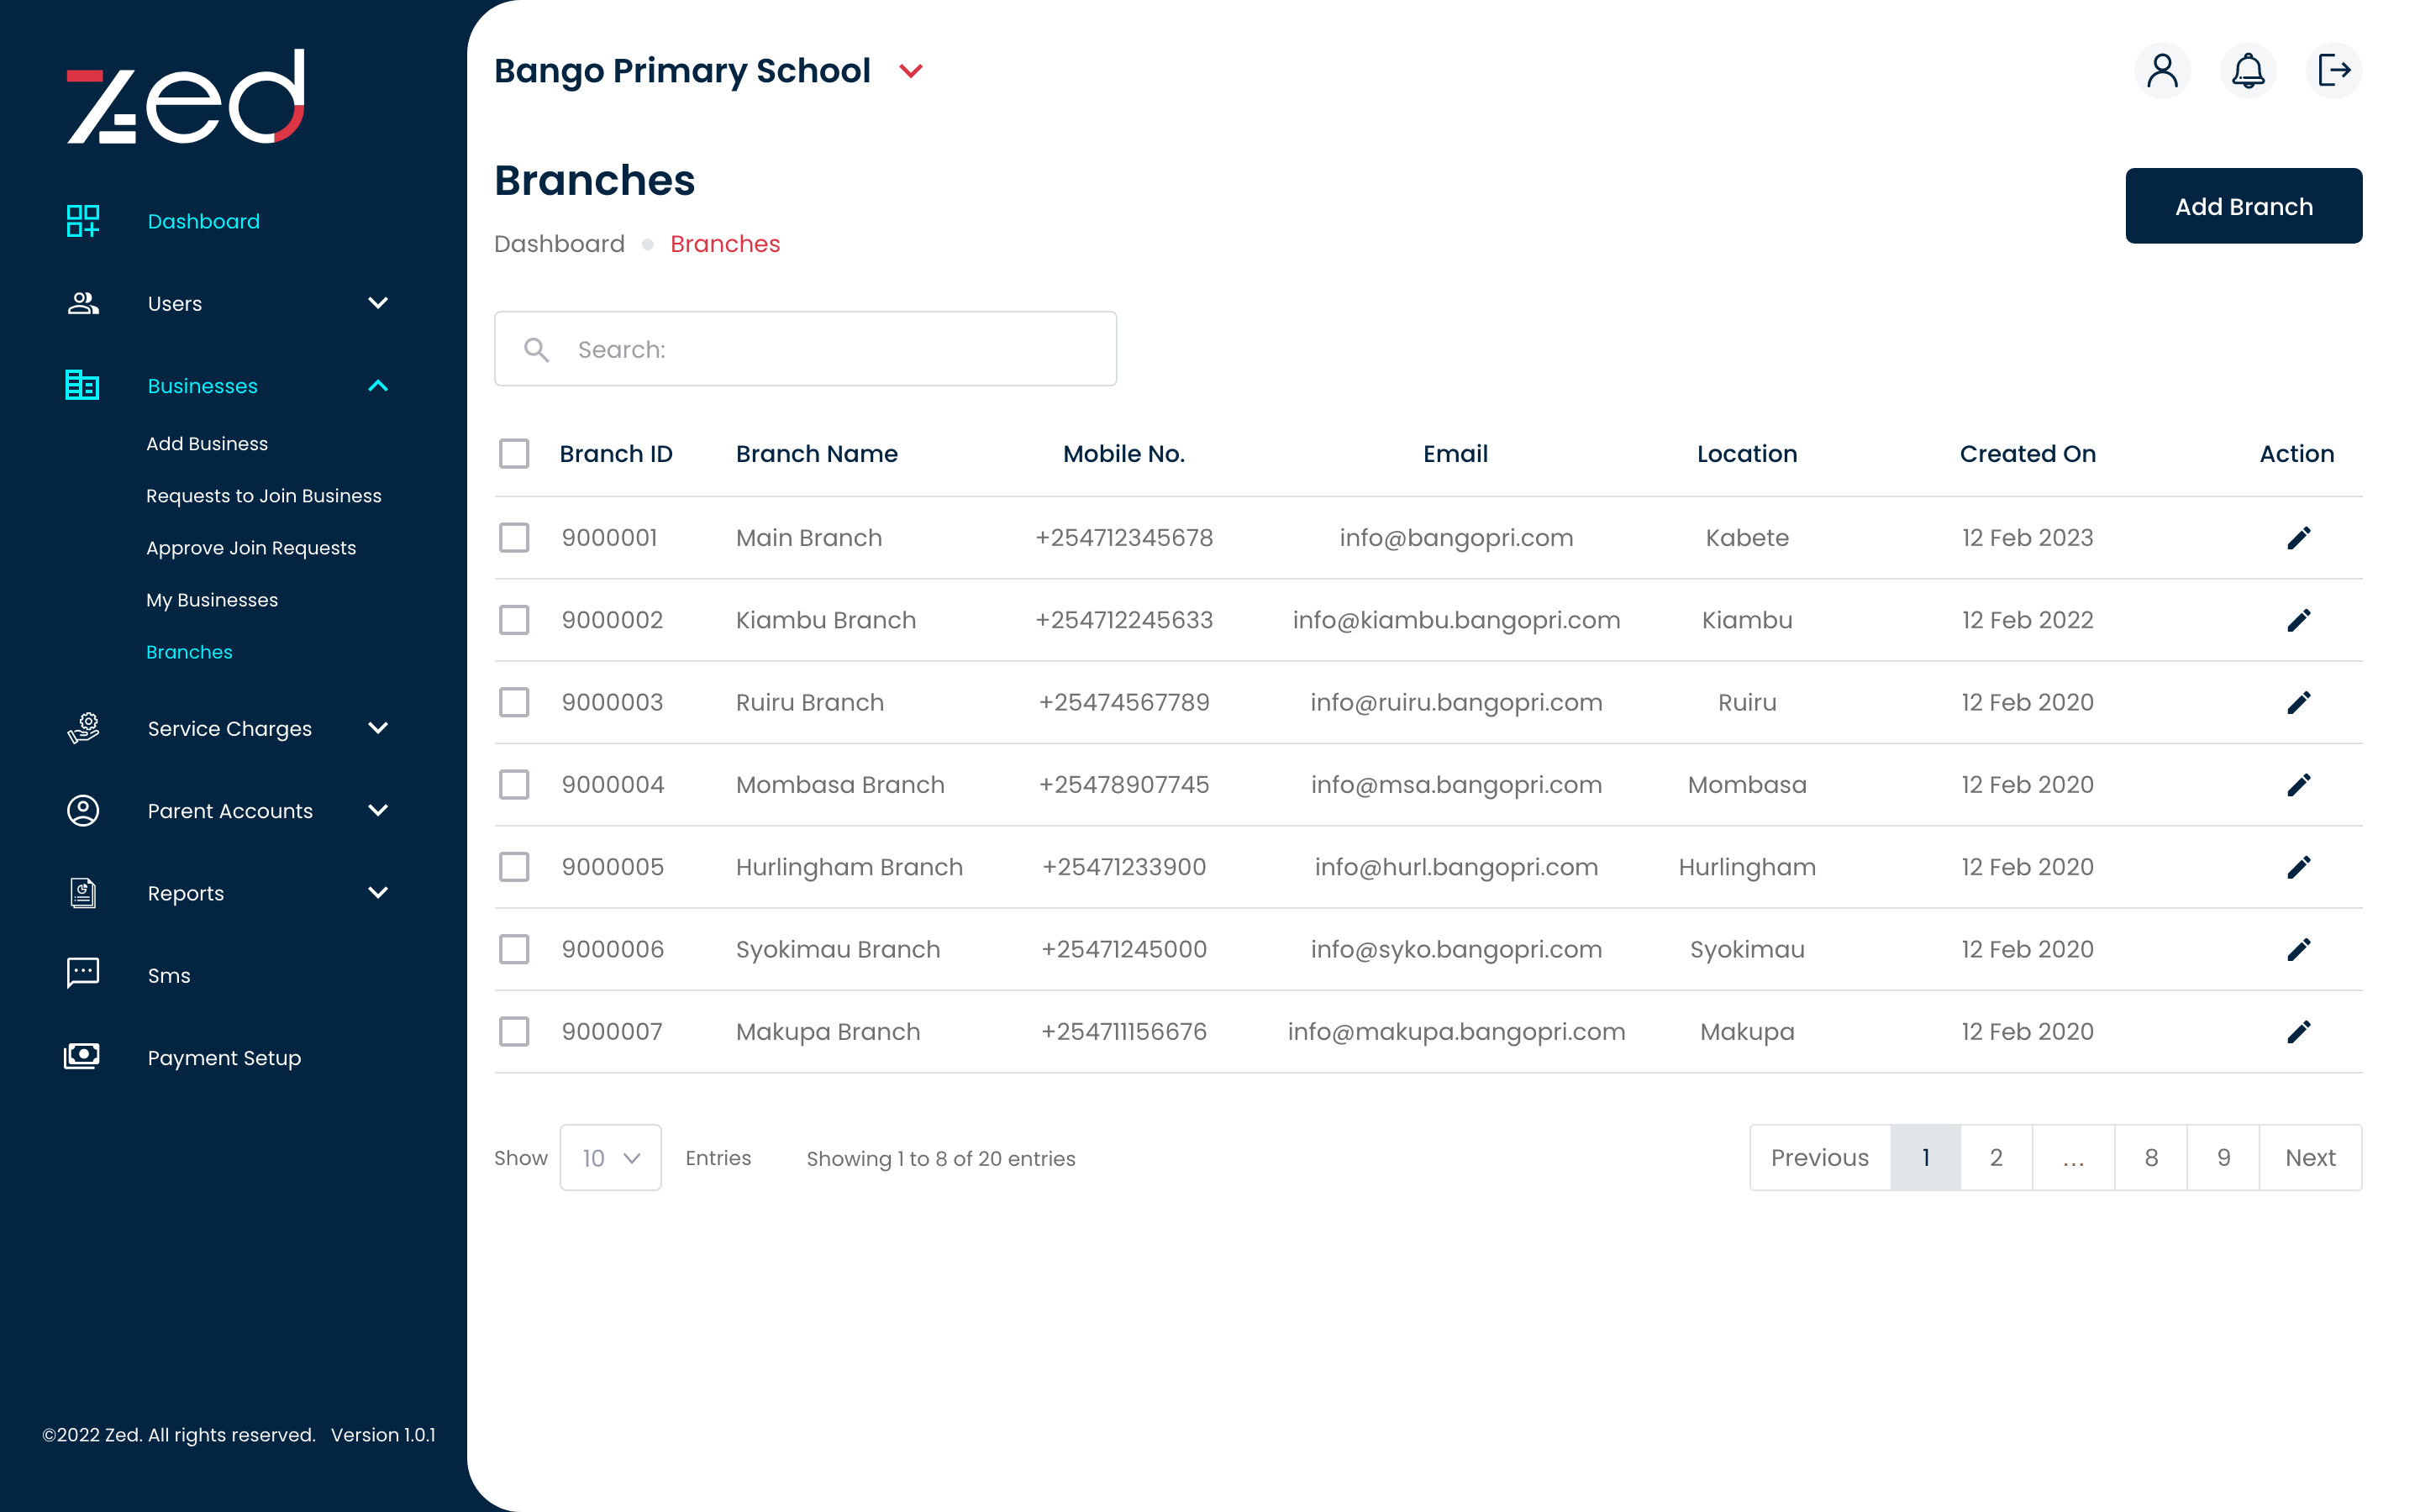
- Select the Menu option.
- Choose and click on 'Business.
- Click 'Add shop/business' at the top right of your screen.
- Enter your company's information, such as its name, owner's name, email address and phone number
- Enter your payment information, including your email address, geolocation, and terminal information.
Step 3: Enter Branch Details to Add Branch.

- Input business payment information.
- Select and save to update payment information.
Step 4: Enter Payment options for the Branch.
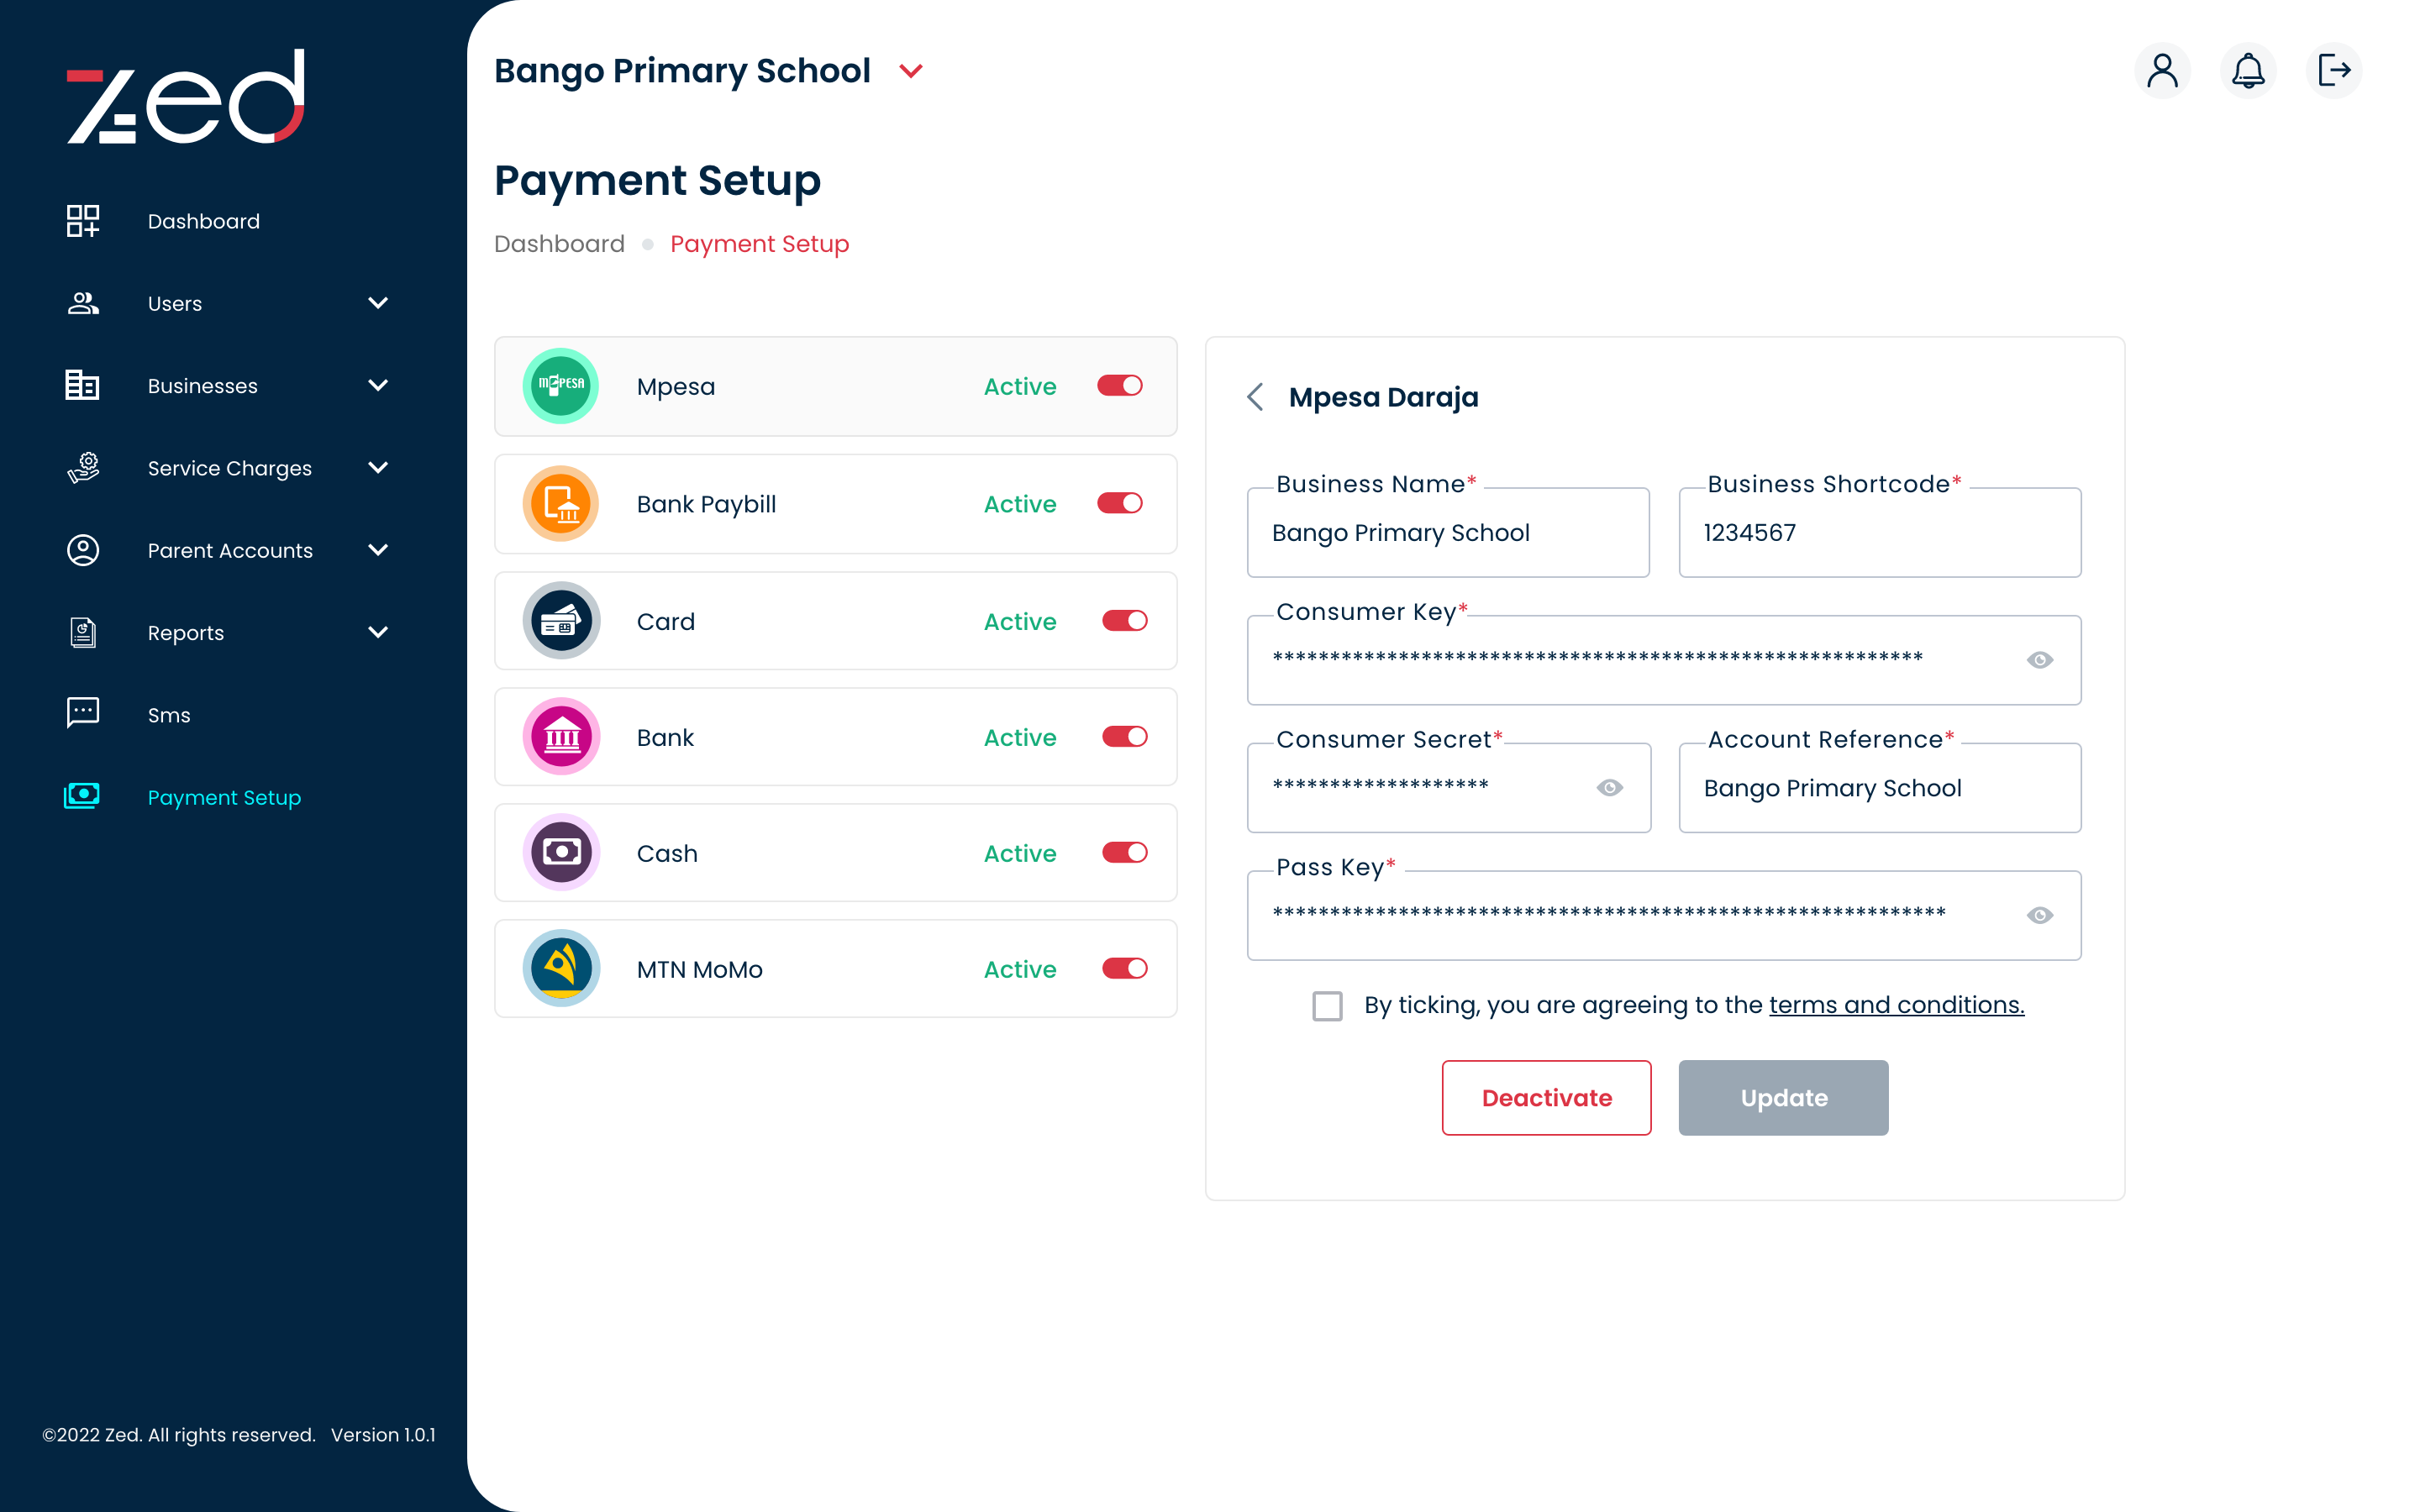
Step 4: Enter Payment options for the Branch.
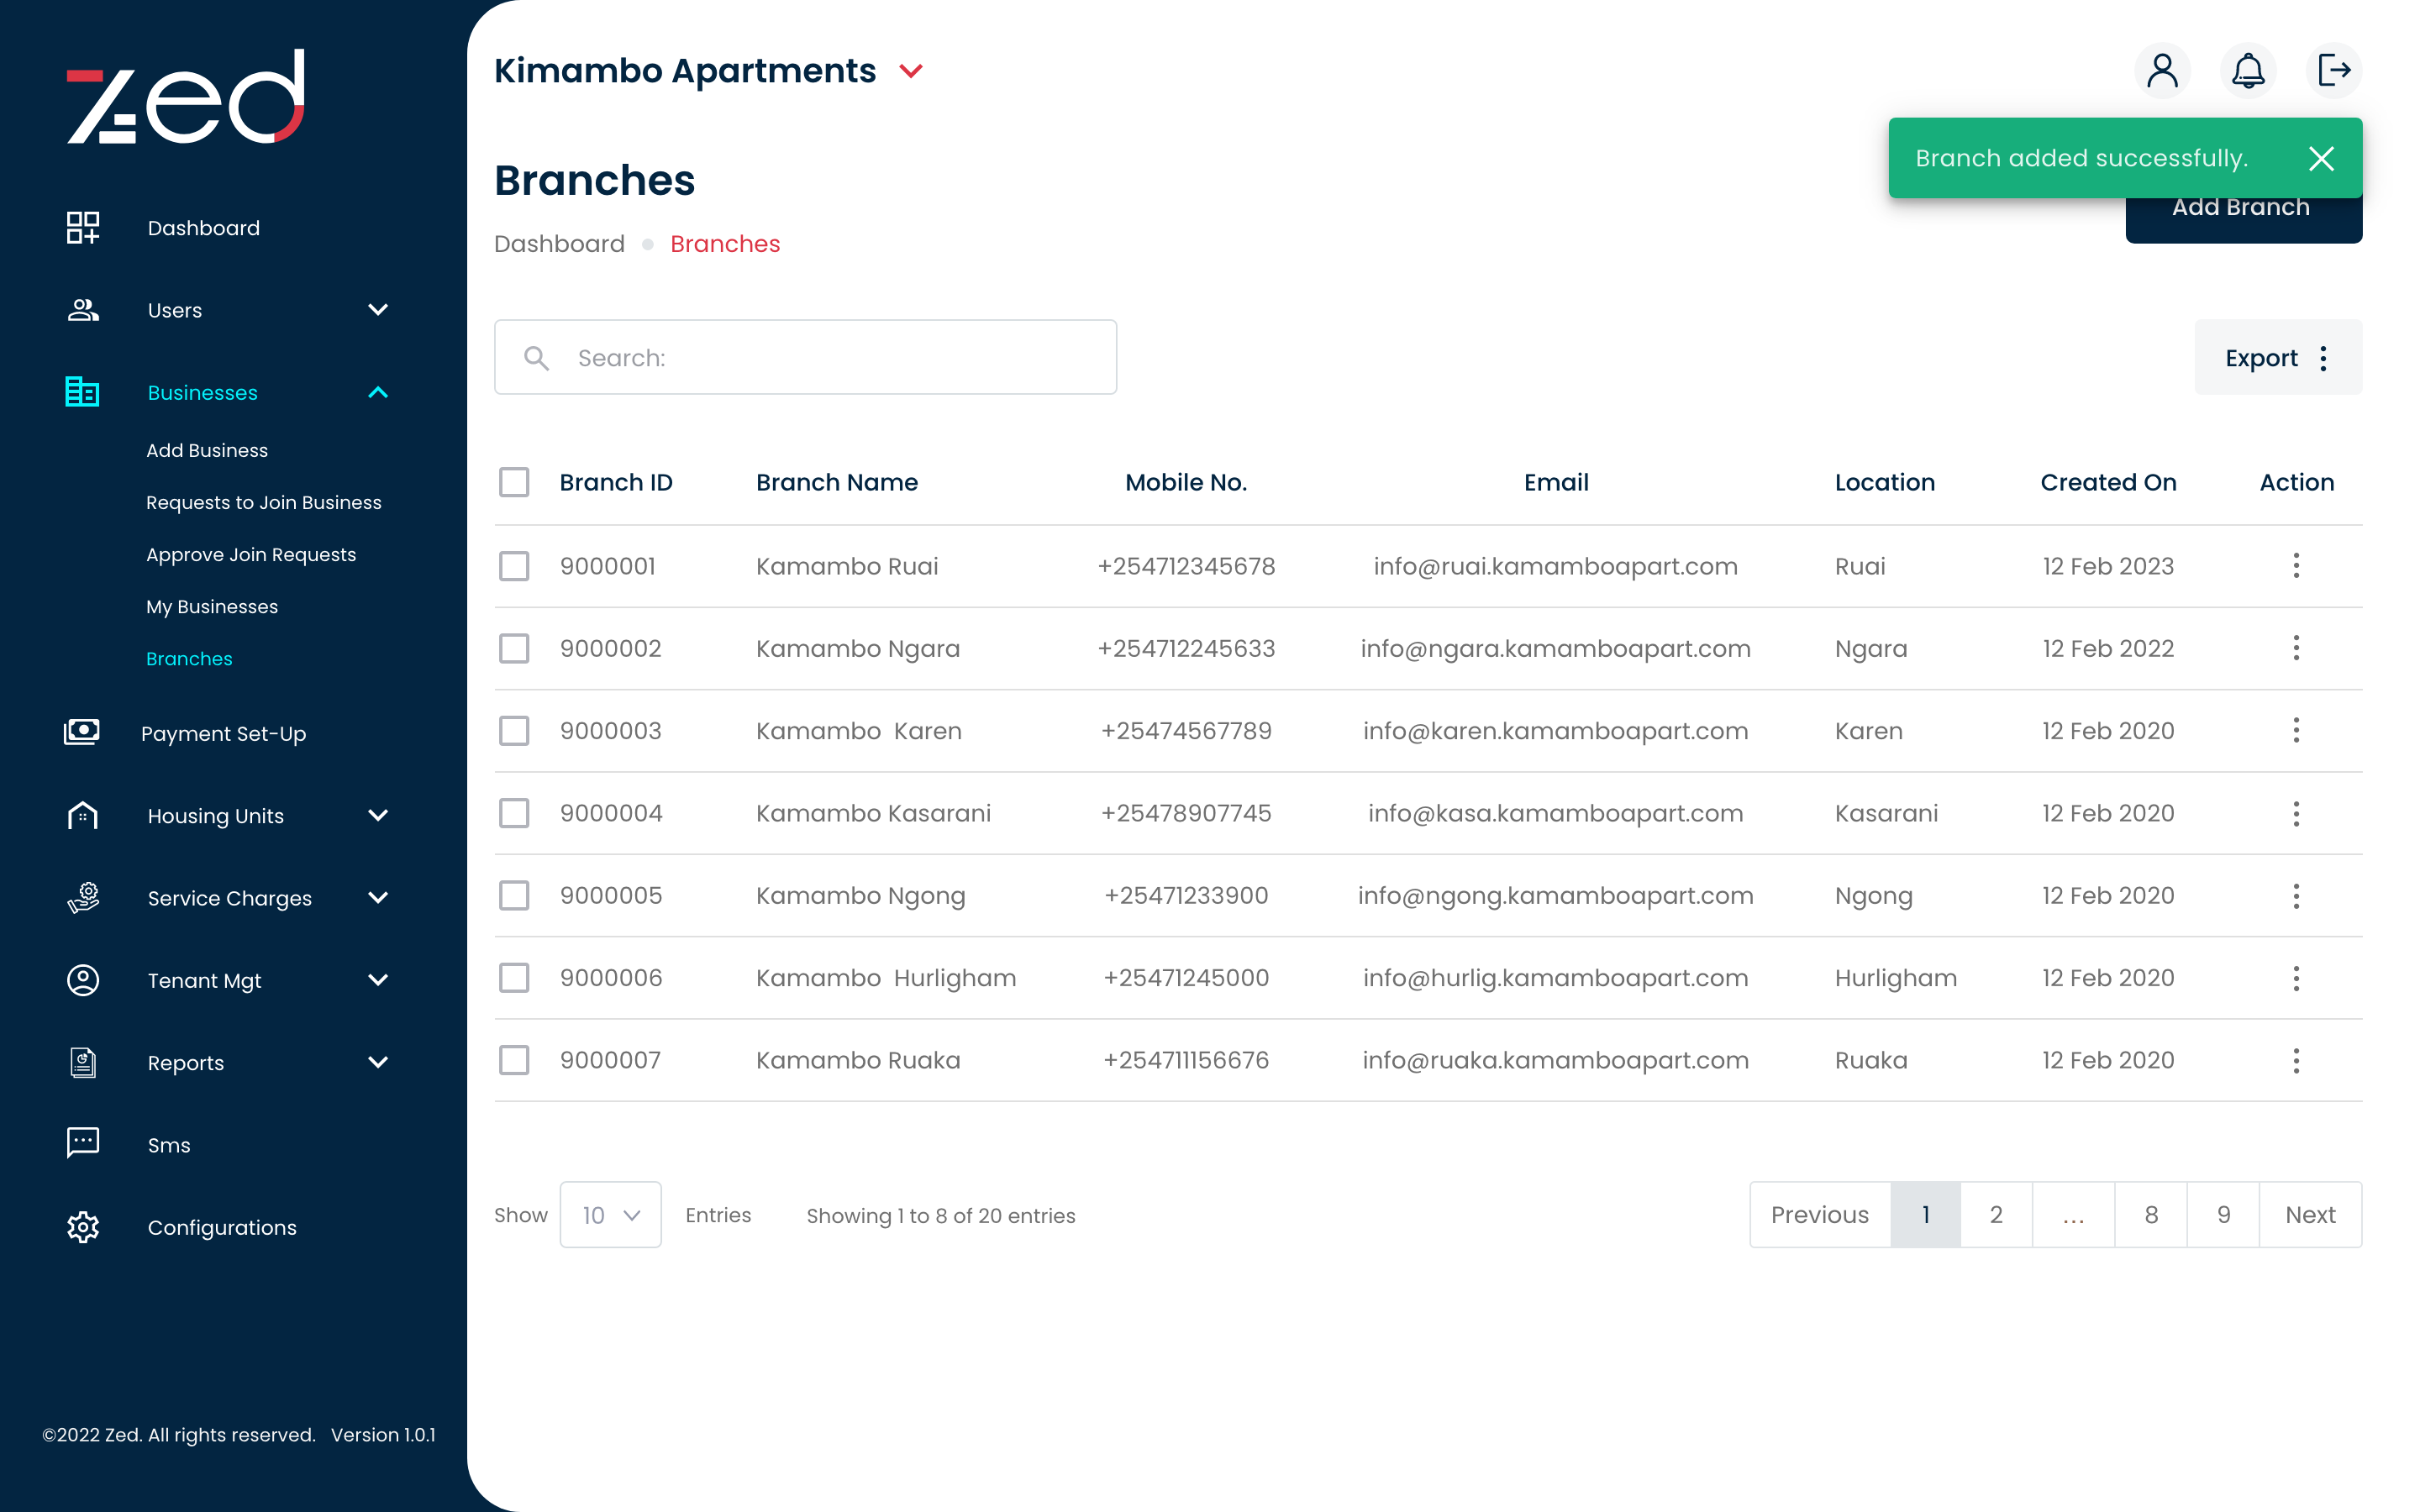
- Wait a few moments. Then, to view the new branch, click on 'Branches' or search for your company in the search bar.
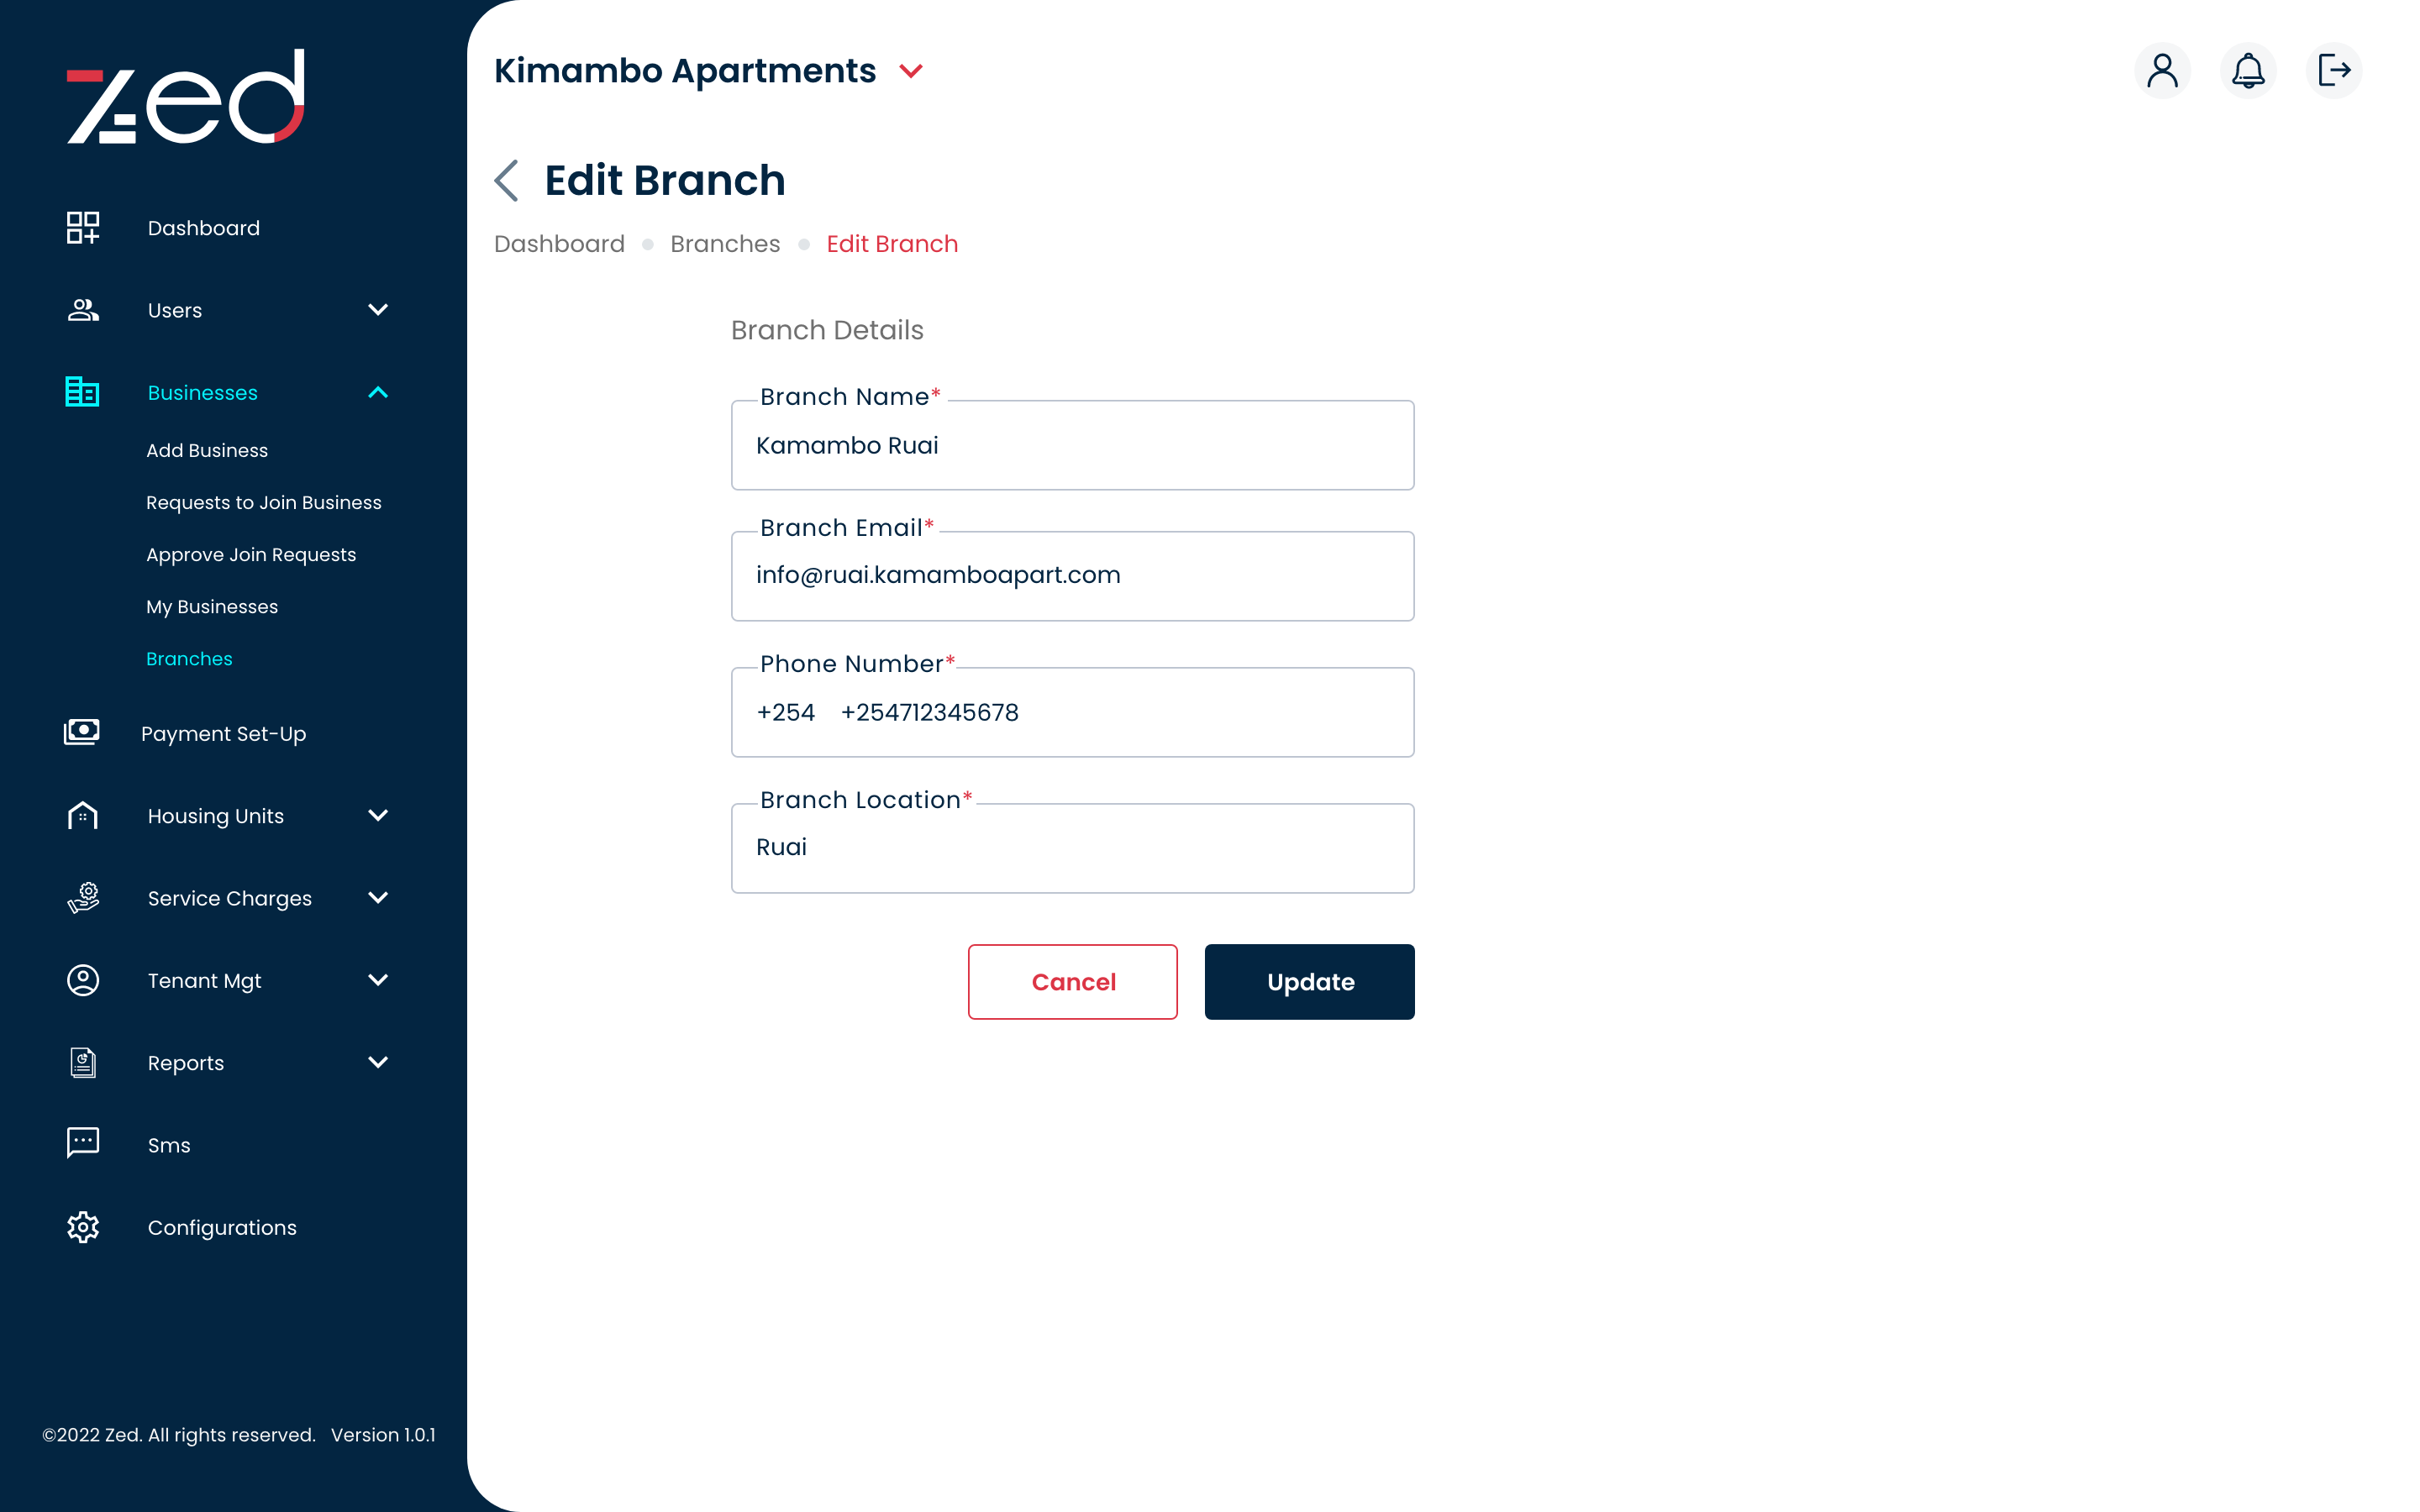
Step 5: Update the new branch.
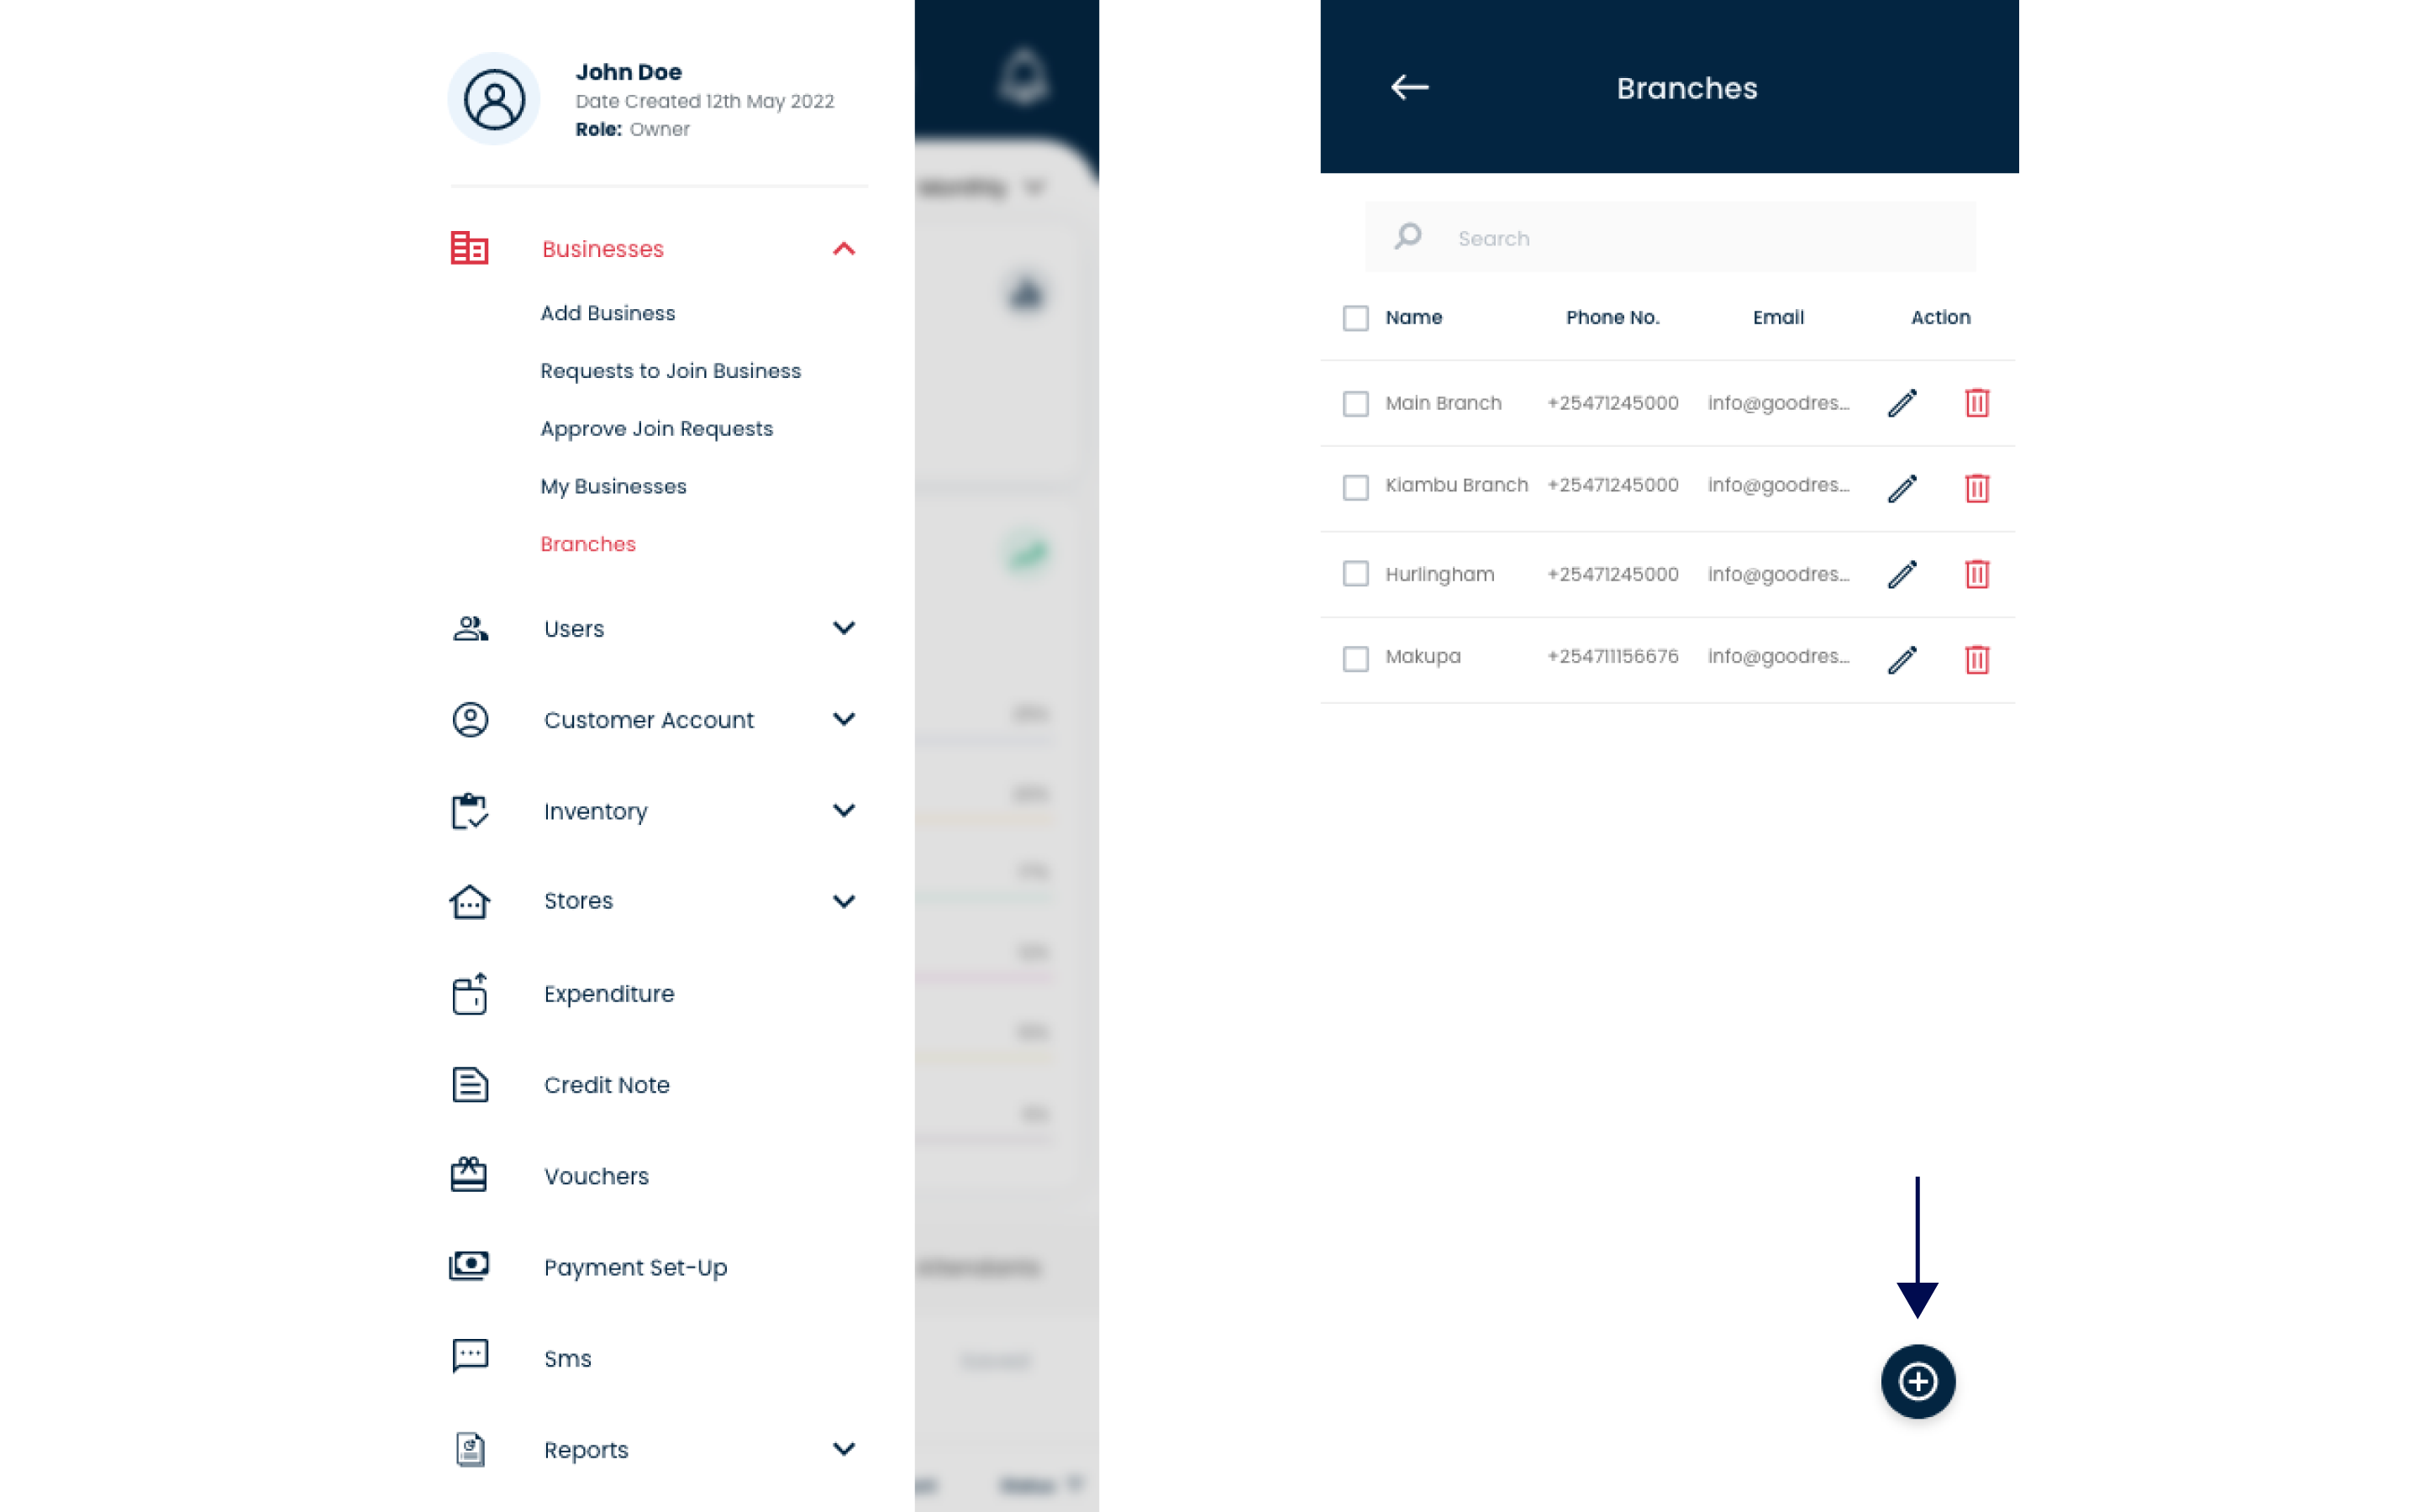
ADDING A BRANCH ON ZED - MOBILE
On the ZED App, merchants can create an unlimited number of enterprises. They can also establish branches within a company.
This user guide will walk you through the steps to get there.
Step 1: Login in to the ZED App.
- Open the ZED app on your device and login using your credentials.
- Please access the main menu and select the “businesses” category, followed by clicking on the “branches” option. Scroll down to the bottom of the screen in order to add a new branch.
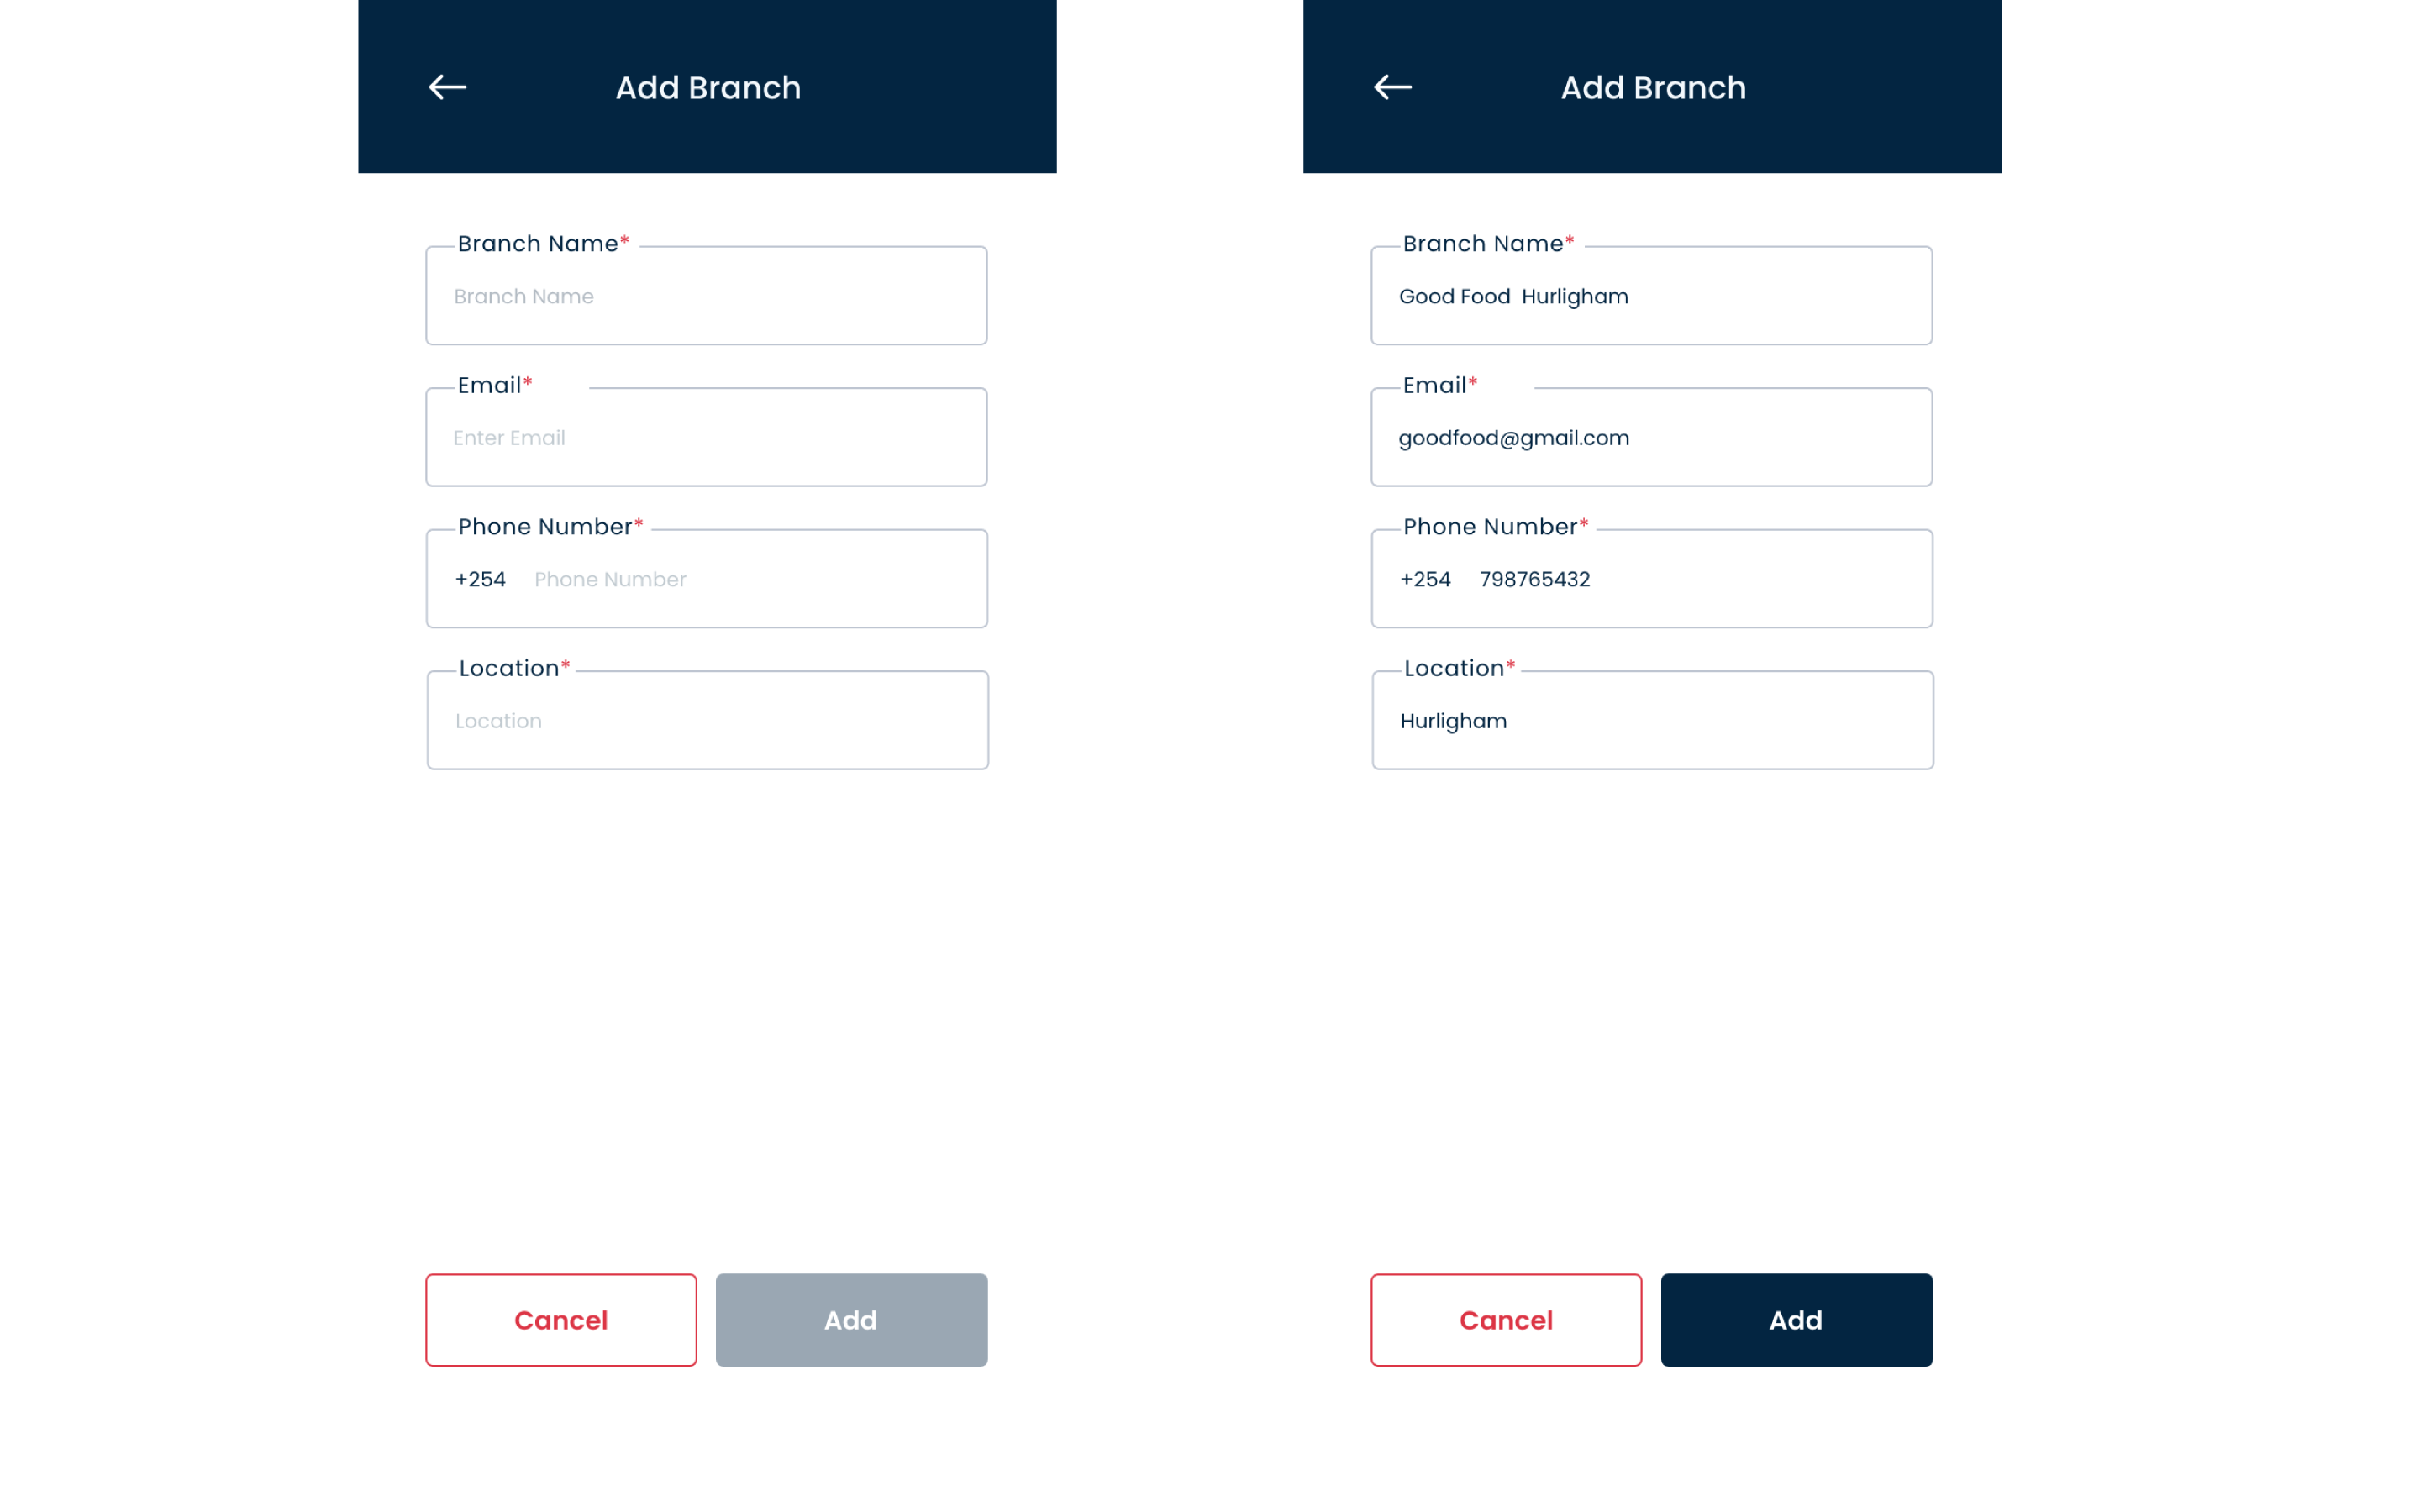
Step 2: Access Business Settings.
- Enter the name of the branch, email address, phone number, location and choose the branch payment details.
Step 3: Enter Branch Details to Add a New Branch.
- To see the branch that has been added, go to the “Branches” section and navigate there.
Step 4: Save Details To View Added Branch.
